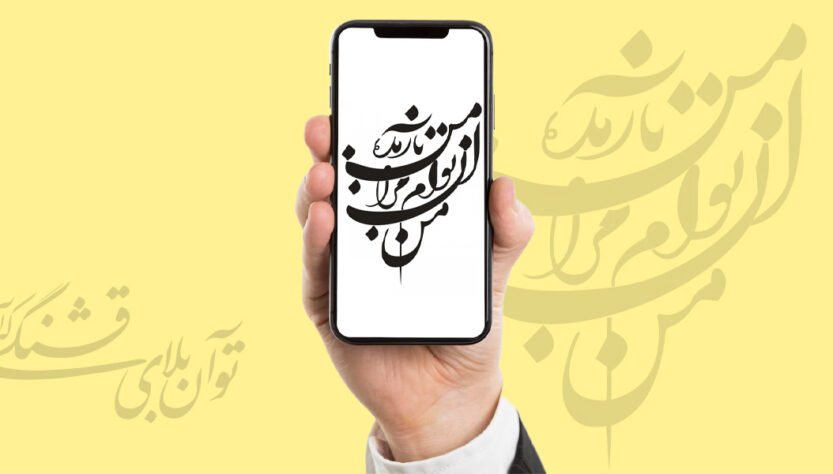
Nastaliq font is one of the attractive and lovely fonts that the texts written with this font are very pleasing to the heart.
Users who use Android phones can easily use this font on their phone and share text and photos with this font. But iPhone users usually face limitations! But this sentence does not mean that they cannot use the Nastaliq font in their phones. In this article, we are going to examine how to run the Nastaliq font on the iPhone and we will introduce the solutions to do this. So to the end of the article and for more information in this field How be with
")
How to use Nastaliq font for iPhone
Before we go to the steps of doing this, it should be said that the method that we are going to teach and introduce works in all the programs used on your iPhone and you can automatically change the font of all phones and software. Change it to Nastaliq, but in the following and for our training, we will teach the Instagram software by default.
To add Nastaliq font on iPhone Instagram, you must do the following steps in order:
first stage: In the first step, you must copy the code ﮼ without any space or extra characters in your browser and search for it. Be careful that if you use browsers like Google Chrome or… It is possible that after copying the code, you will not get a specific result. Because you have to copy this code in your iPhone’s browser, i.e. Safari.
")
second stage: After doing this, you will see that instead of the written text, another letter similar to double quotation will appear, which you must copy. If this character is not shown to you, you must copy the ﮼ character at this stage.
")
third level: After doing this, you should go to the Settings section on your phone and then follow the path below.
Text Replacement < Keyboard < General
")
")
The fourth stage: Now it’s time to add long Persian font for iPhone. To do this, you need to find an icon similar to + on the top and right side. Then click or tap on it. By doing this, you will enter a new page.
")
The fifth stage: On the new page, select the Phrase field and paste the symbol you copied in the second step in this field. Now you have to write the word Nastaliq in the next field, Shortcut, and finally click Save.
")
The sixth stageBy going through the above steps, the ability to write text with Nastaliq font will be added to your iPhone and you can use it easily, but for your peace of mind, we will tell you how to test and try this font. .
")
Using Nastaliq font for Instagram
To make sure, the method you have used, to write the Nastaliq font works, you can enter the Instagram software. Now you can easily write in your bio page or other sections like Instagram story with this font.
For example, if you plan to use the Nasteilq font for your stories, you only need to go to the story section and then select the Create option to create a story. Then follow the steps below.
1. In your favorite part or in any part of the story you want to insert a text, you must use the character that you have already defined as Nastaliq font in the settings.
2. In the next step, you must put a space so that the special character replaces the word Nastaliq and the Nastaliq font will be displayed to you.
3. After doing this, you must hit a backspace again so that the space created after the character is deleted.
4. In this step, you can write the text you want and you will get it, which will be displayed with the Nasaliq font. As a final point, it should be said that when writing any text with Nastaliq font on iPhone phones, you must use half a space between words so that the appearance of the text is neat and the words do not stick to each other.
If all the steps are followed correctly, but the Nastaliq font is not activated, what is the problem?
Some people may do all the steps as mentioned but still the font won’t activate for them. It should be said that this problem may be related to various factors related to the iOS operating system and the settings of your device, in which case you should know the following.
In fact, the steps we taught above are applicable to iOS 11 and above versions and need to set the special character ﮼ to apply the Nastaliq font to your texts. So the first thing you need to know is that this trick only works on iOS 11 and above. If you have followed these steps correctly, but the changes have not taken place, it may be due to the following reasons:
1. It is possible that the ﮼ character is not recognized correctly in the device or browser settings. Make sure you enter the character ﮼ exactly without any extra spaces.
2. It is possible that your device’s keyboard or language settings have caused problems in recognizing characters or displaying Nastaliq fonts. Make sure the device language is set correctly.
4. Sometimes, to apply changes and new settings, you need to restart your device or close and open applications.
Conclusion
In this article, we examined the method of how to activate the Nastaliq font on the iPhone, and we also described the method of creating a story with the help of this font. We hope this article was useful for you and you can easily change your font.